
Here is my makeshift setup. Newspaper, rubber gloves, a cup of water with baking soda to neutralize the beads, beads, and acid for etching. (I like to use paper towel too but only had kleenex.)

The beads are strung on fishing line with plastic E-beads between to prevent large, unetched areas on the ends.
Here are the beads before etching - shiny. The one thing I really do like with etching is how certain transparent colors show up decorations that you otherwise couldn't see.

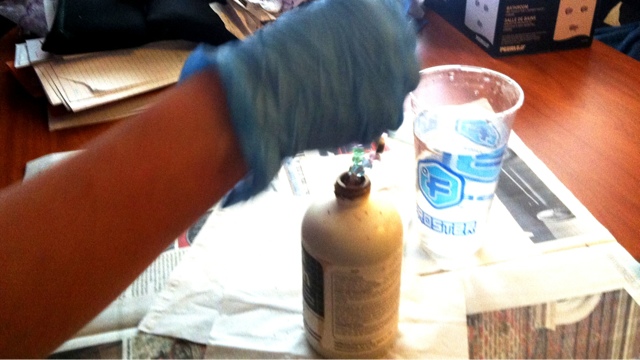
Putting the beads into the acid. Yes, I am too lazy to actually put the acid in something else so I just thread them into the bottle. Actually I do it this way to avoid more mess, spills, wreaking my glassware, etc.
I don't usually leave the beads in the acid long. The longer they are left, the more matte the finish becomes.

I let the beads sit in the water a minute or two. The water and baking soda neutralizes the acid and stops the etching process.

Once the beads are taken out, I let them dry for awhile. Then I cut the fishing line off and let the beads fully dry until I am ready to use them in my projects. These ones are all for earrings.

The last picture shows the beads after they sat for about half an hour. The white spots are baking soda that I need to wash off but you can see how the beads have changed from their shiny beginning. The purple half and half beads and the half green - half purple beads show up more once they are etched.

I would etch more beads, because I love the look, but like I said above, I have a hard time bringing myself to do it sometimes.
Thanks for reading!
No comments:
Post a Comment